Spring and summer is almost here, and with it comes sports and activities to keep us busy. Landscaping needs to be done, outside house repairs and of course trying to keep an eye on the kids as they run around the cul-de-sac.
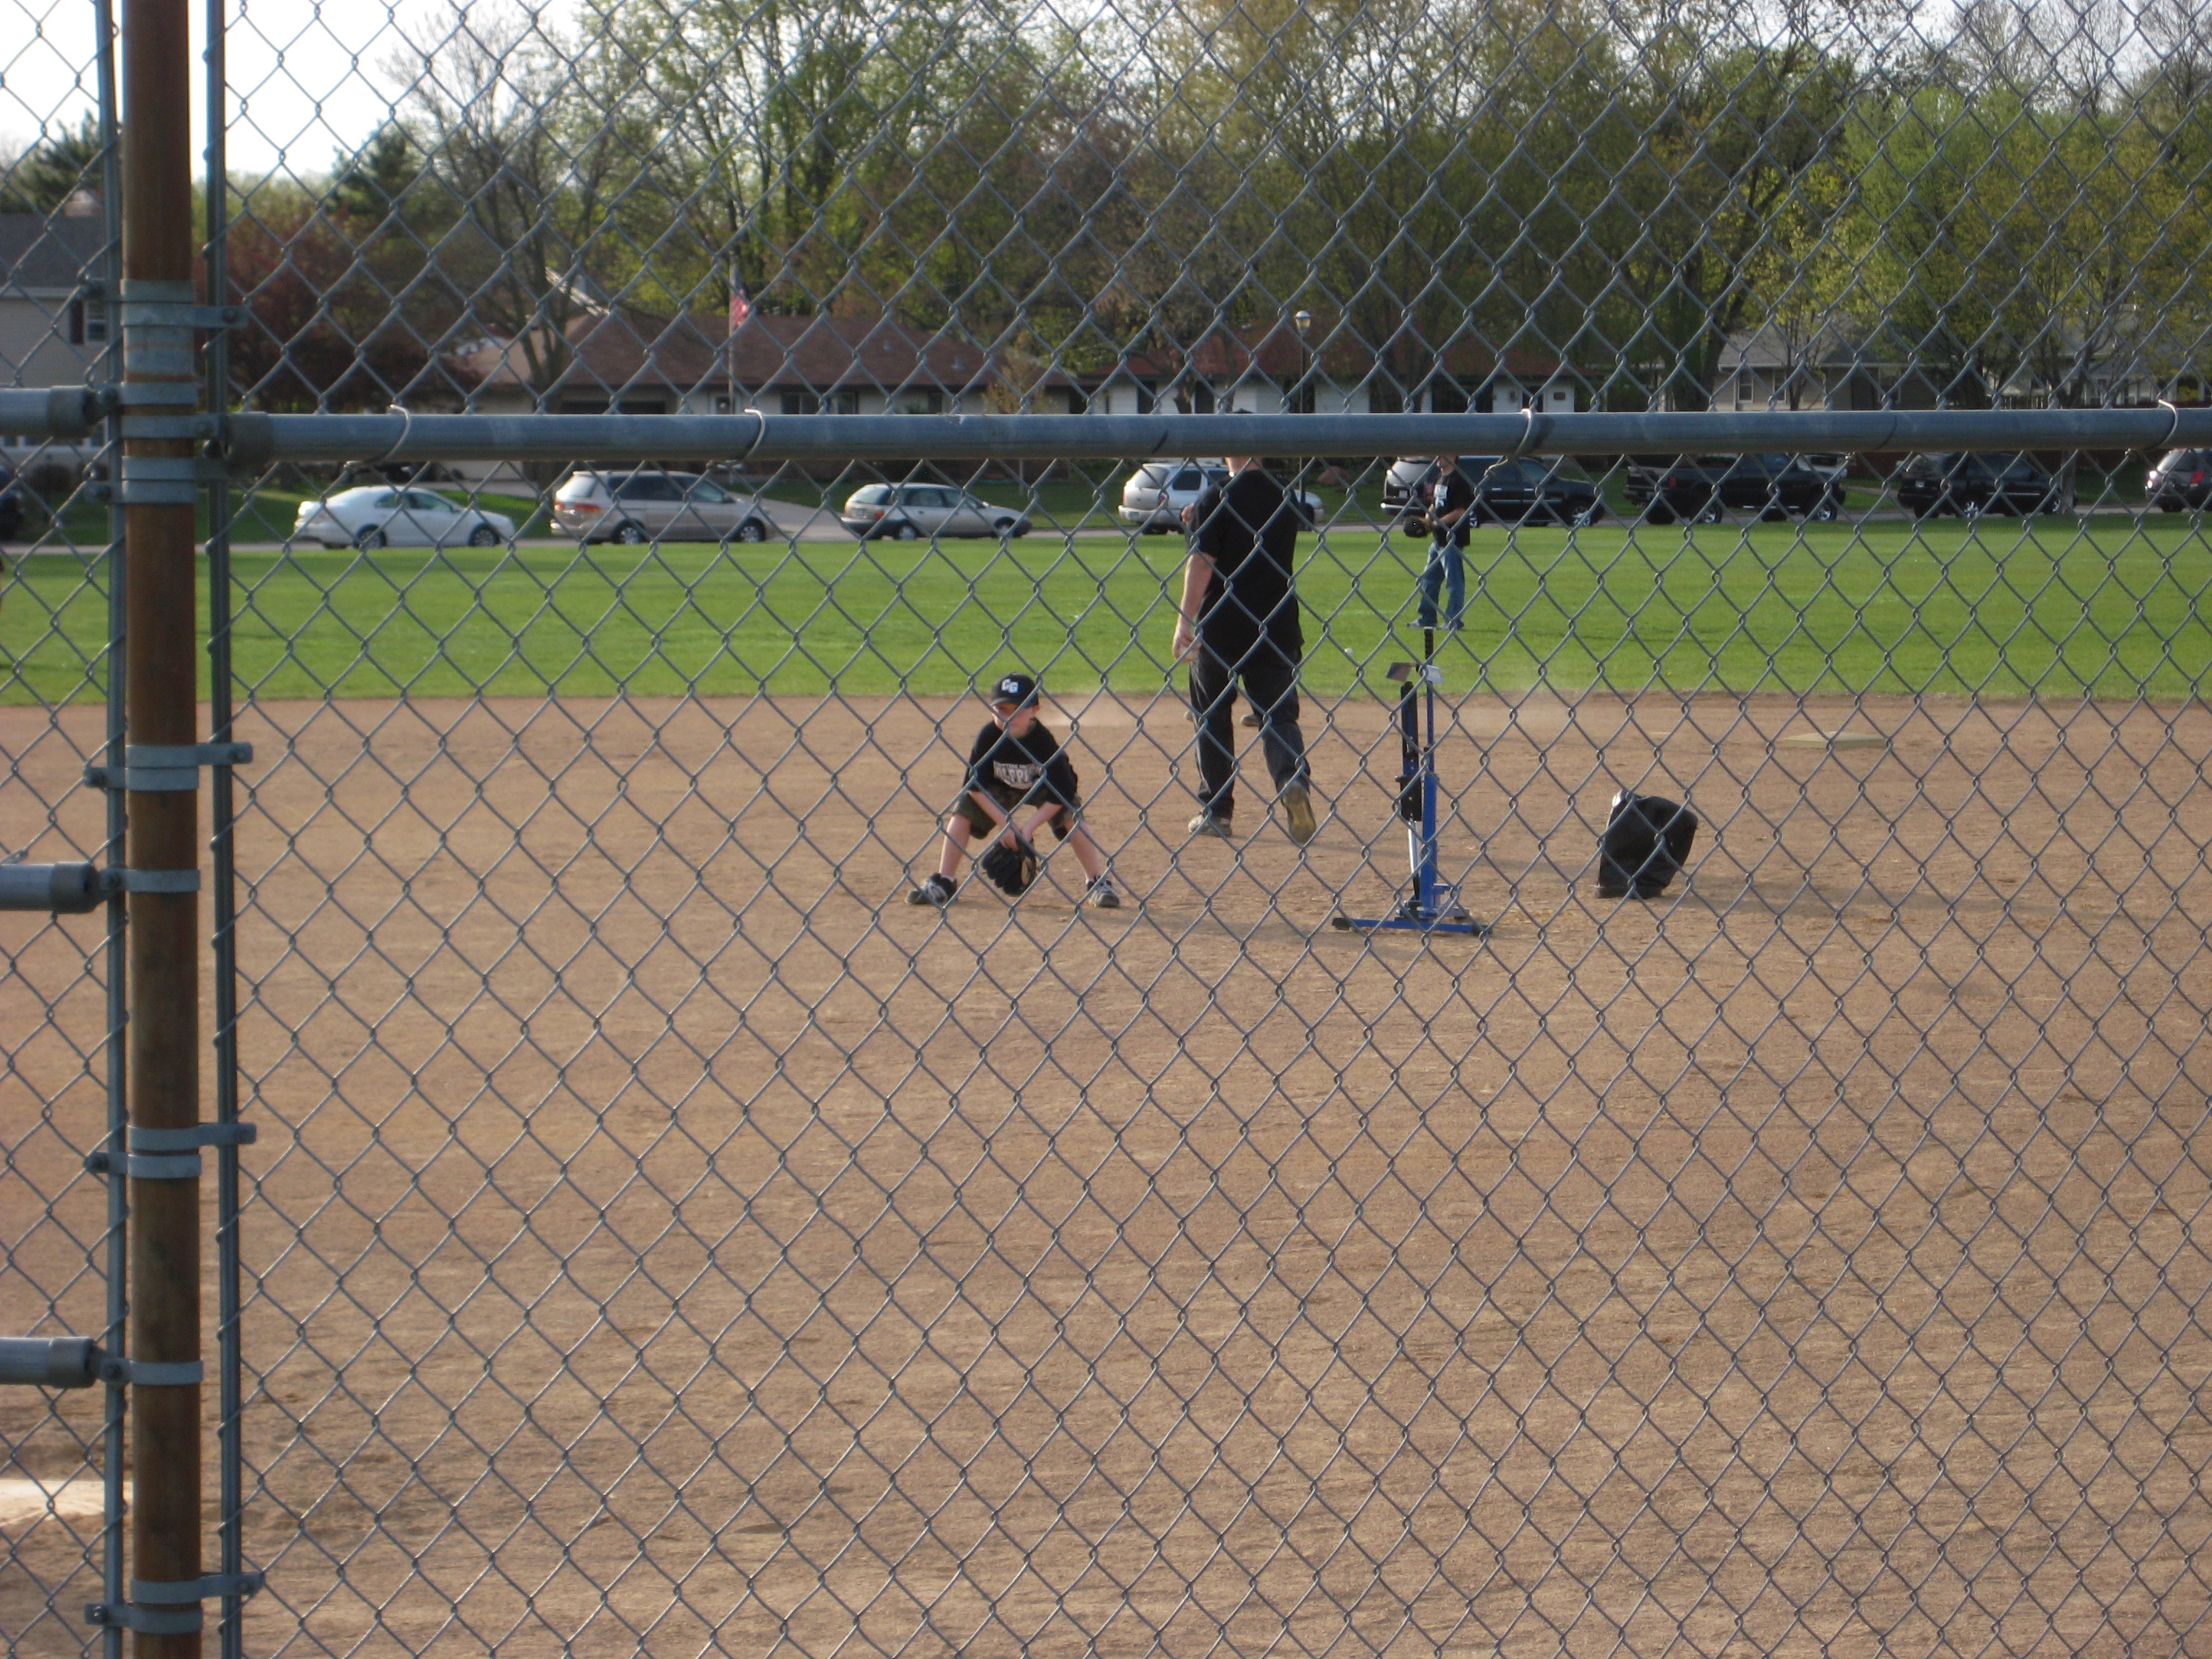
Brandon started baseball a few weeks back, this year it is machine pitch. I was surprised that on his first at bat during practice he managed to hit 3 out of the 5 pitches. Here is a picture of him playing the pitcher position. He was able to make a good stop and throw to first to try to get the runner out.
 Both boys are in swimming. Aiden either is really excited to go or complains the whole time until he is in the water and then he does not want to get out. Brandon is doing better and has almost made it across the pool with out stopping, but of course he still sinks once he stops. I have been trying to help Brandon when we get the pool, he loves to try kicking the air outside of the water which is not helping him move much.
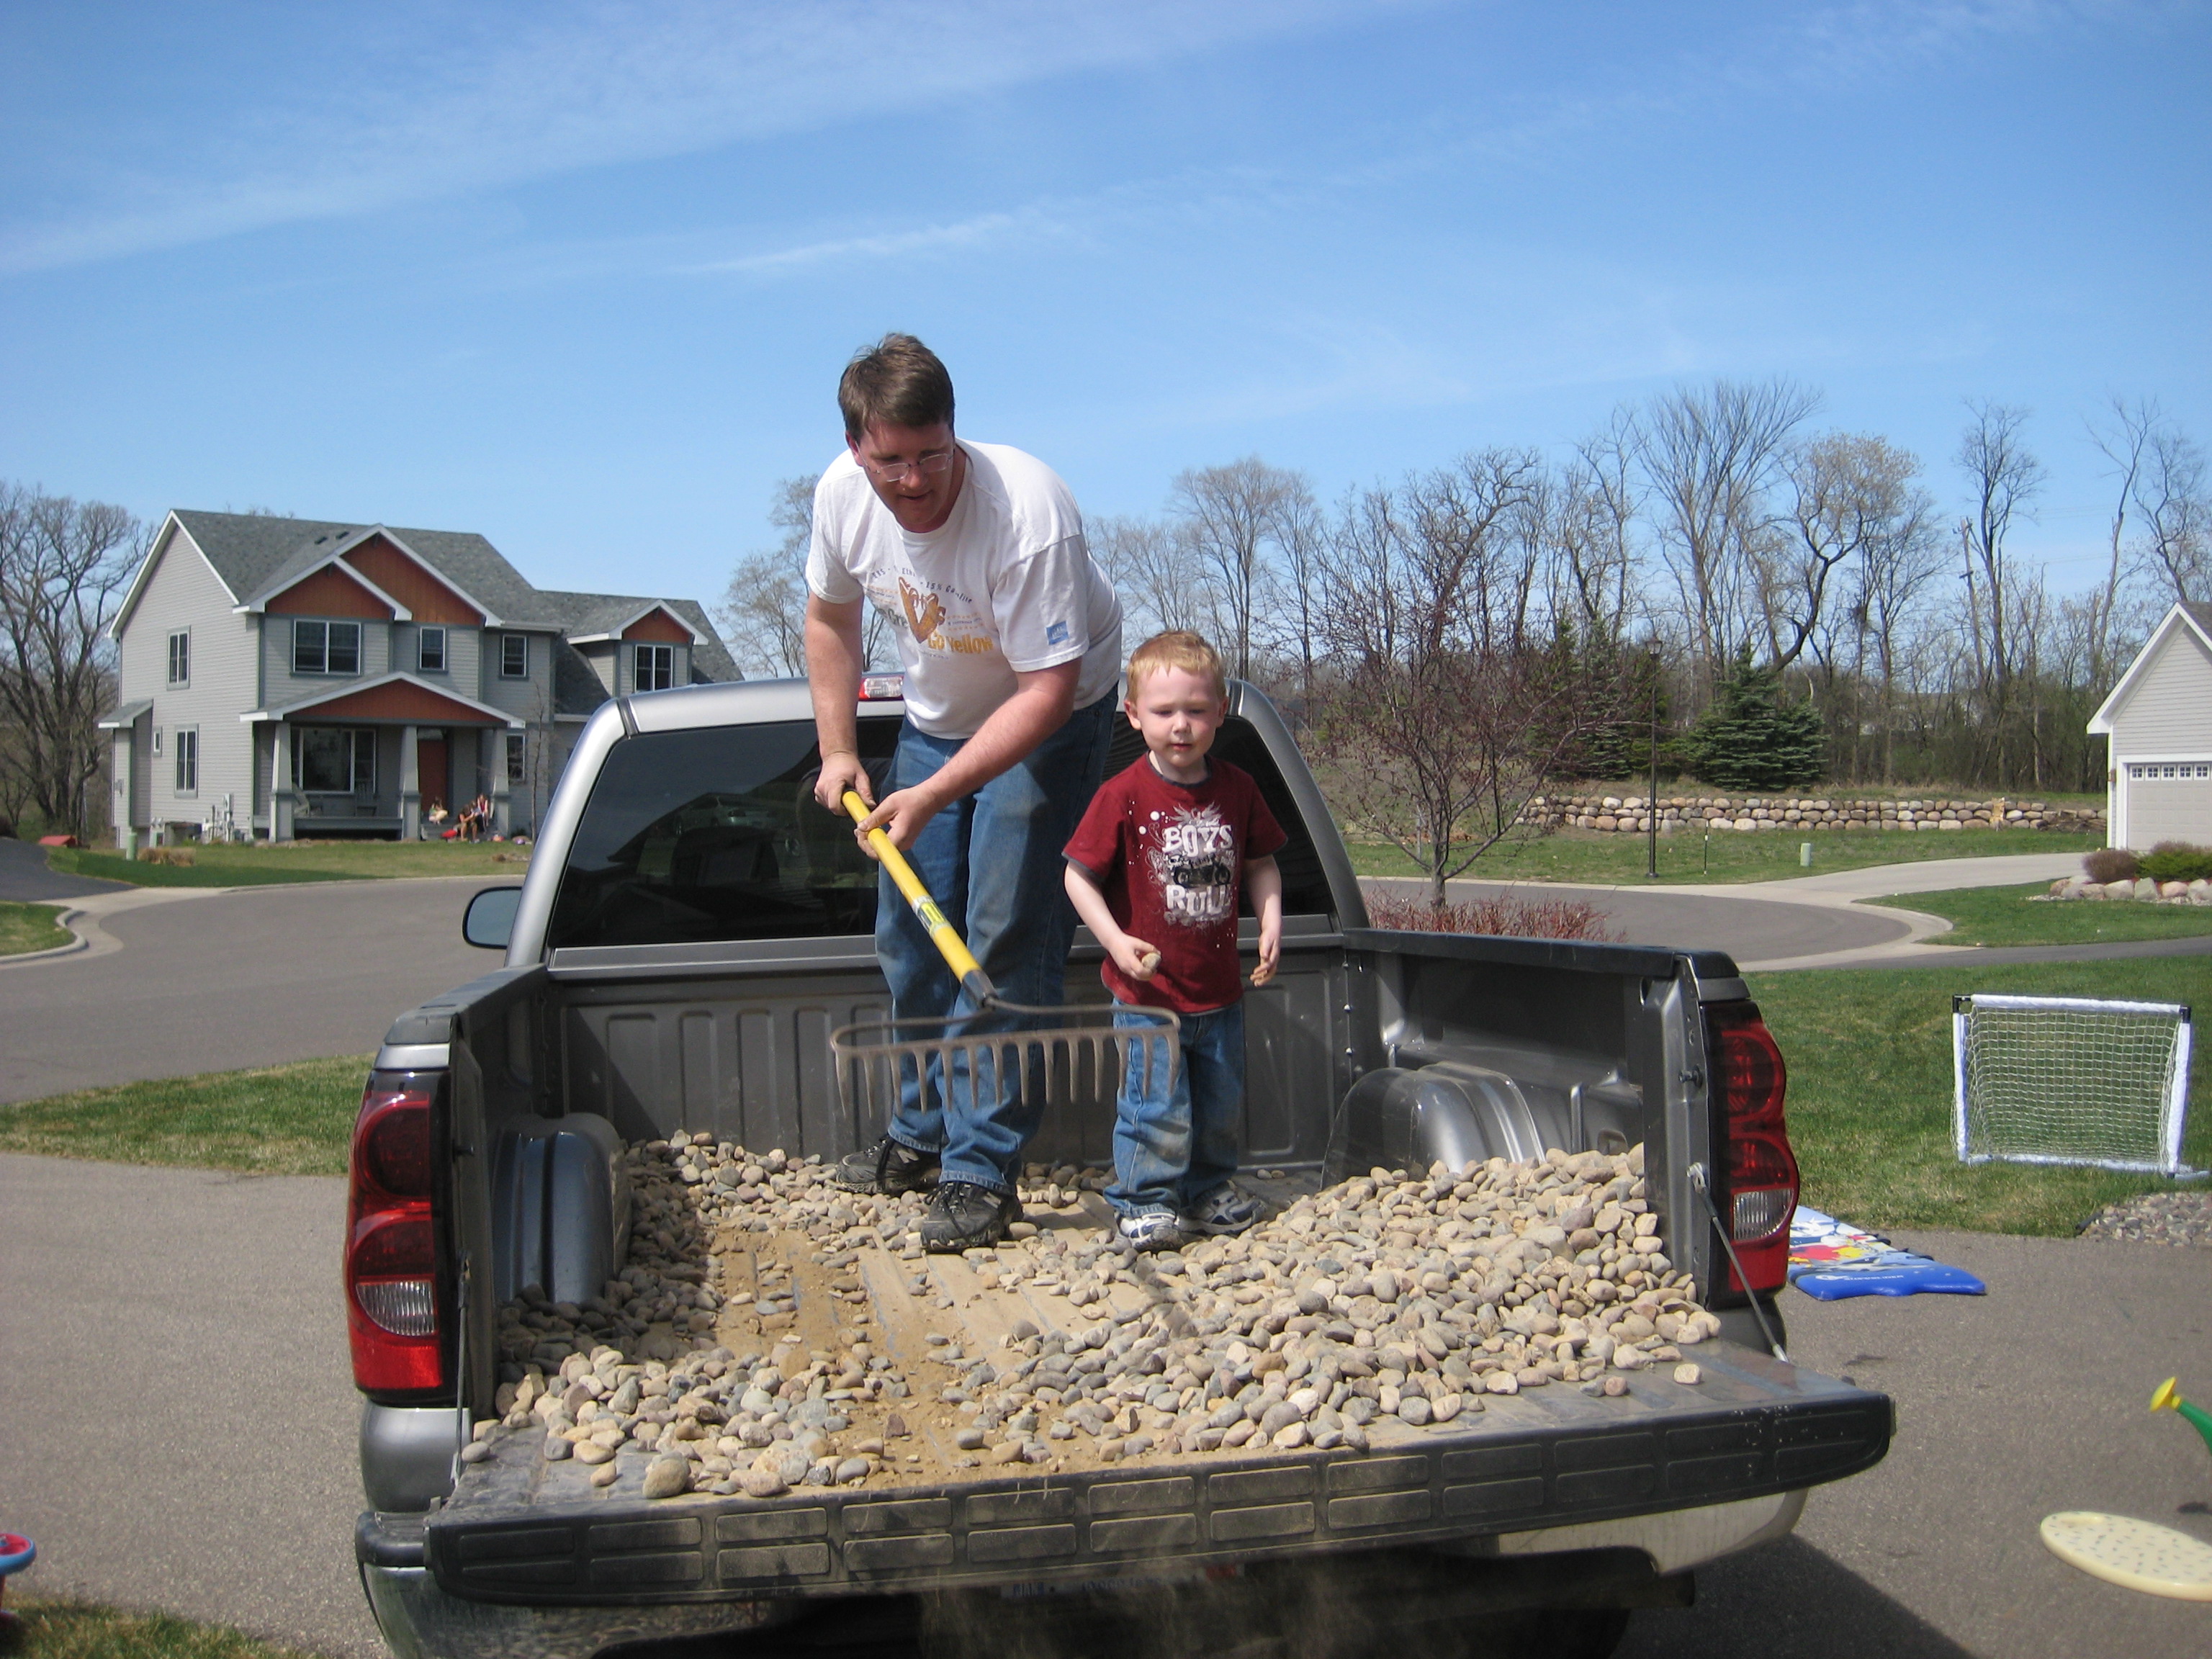
 The last few weekends we have been making some minor landscaping changes. We took out the flower garden in the front of our house as it just was a haven for weeds after the spring flowers bloomed. We also removed all the mulch around our backyard patio. We replaced the mulch with keystone rocks and also tried to accent the rock stepping stones with grass seed. Of course it rained hard the day after we seeded so I except to see all the grass growing in the rocks and not around the stepping stones. The picture above is the future home to the grass. Here is one of Aiden helping with the river rock we used in the front.
Today we bought Aiden his first bike. From when we got home until almost bedtime he was out riding it around. He also loved to inform all the neighbors and neighborhood kids about his new bike. I hope he will enjoy it enough so I can stop having to bolt on the bike trailer on our family outings!


