Step 1, buy tile
Step 2, install tile.
Guess I glossed over the hard parts. 🙂
Ok, so our kitchen needed some pizzaz and grease loves our walls. So we can fix both problems at once by putting up a tile backsplash in our kitchen.
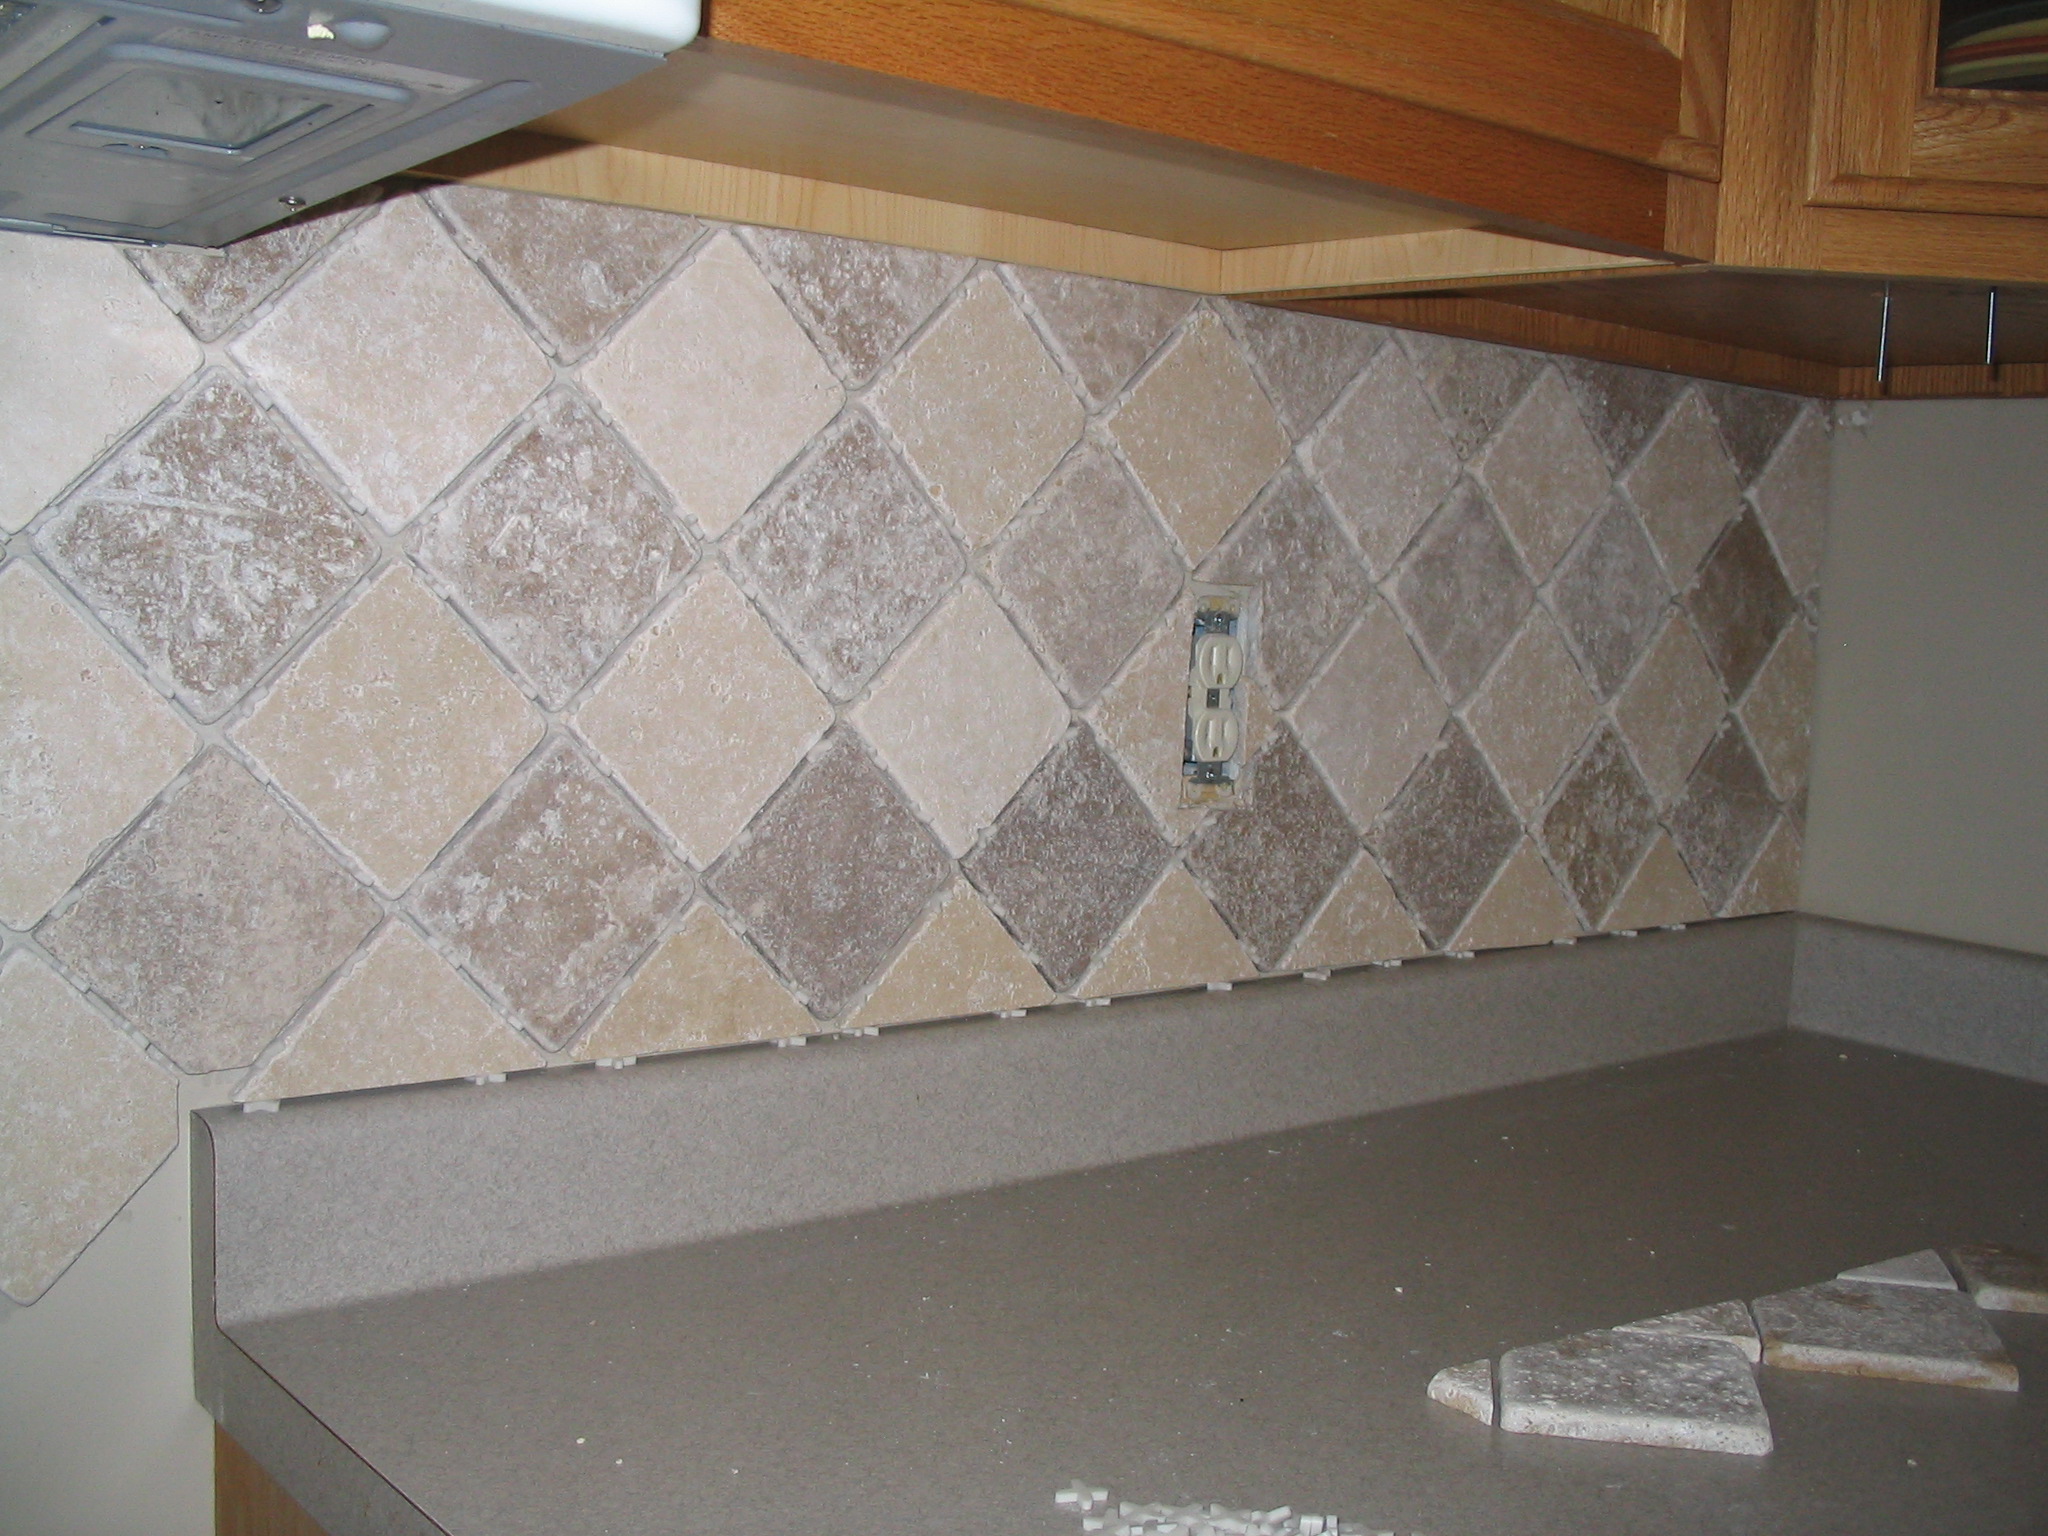
After weeks of pondering and searching various tile shops, with kids that did not want to look anymore, we picked out some travertine tile in a dark, light checkerboard pattern. I measured the kitchen and determined we needed about 40 sq feet of tile and that leaves plenty for cutting and screw ups.
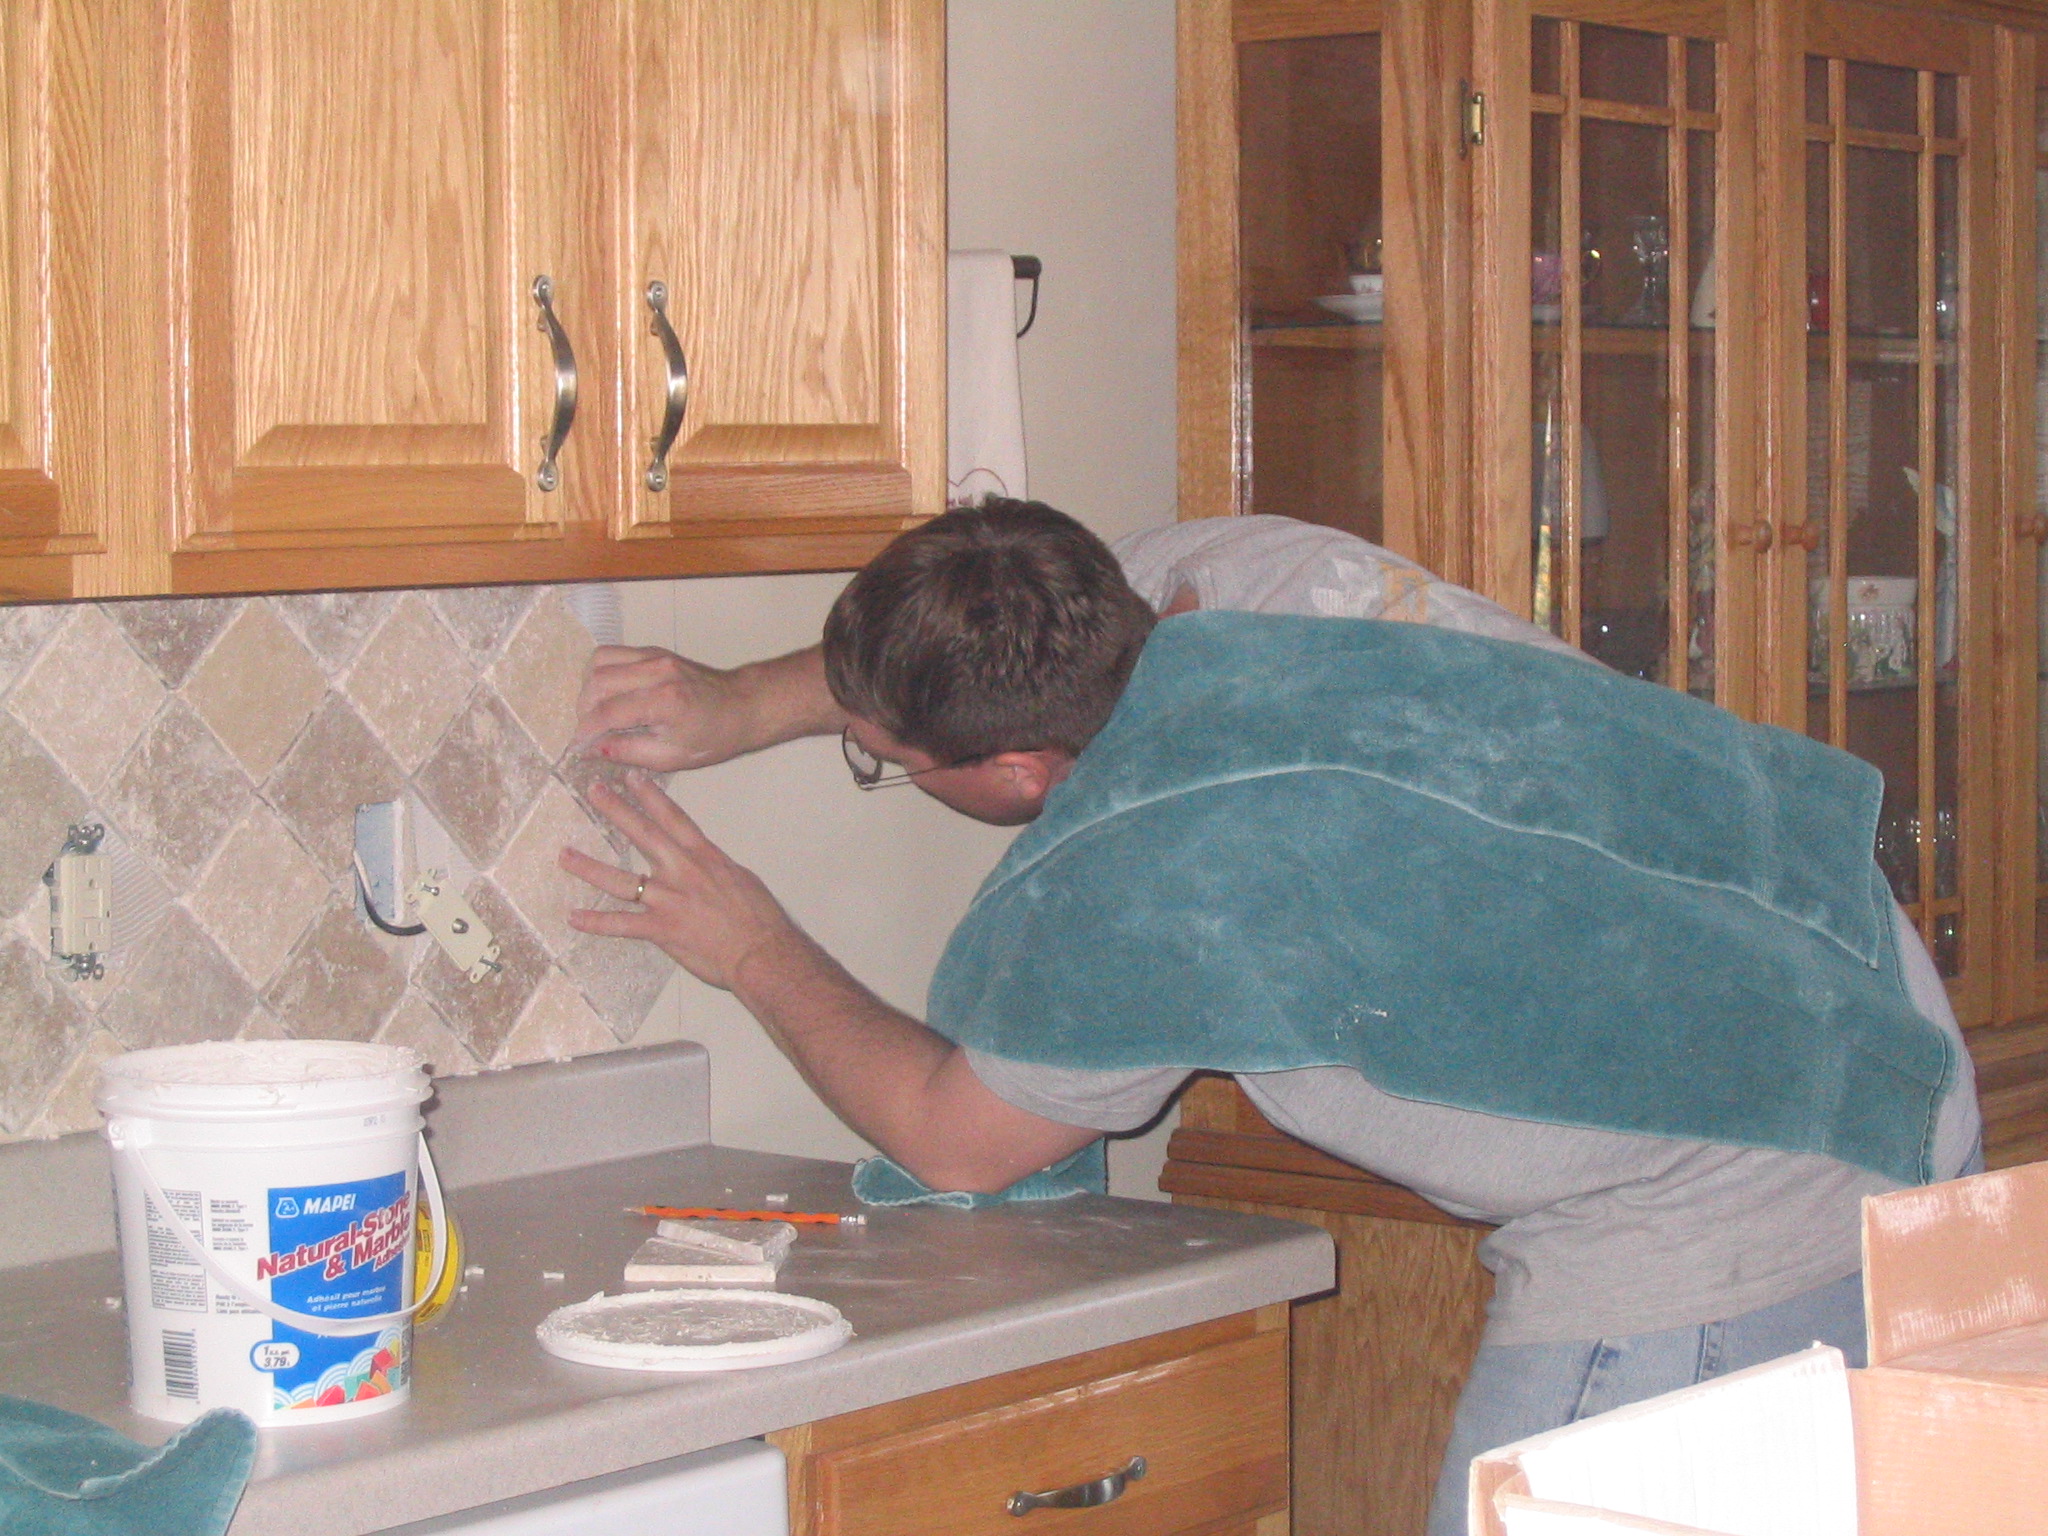
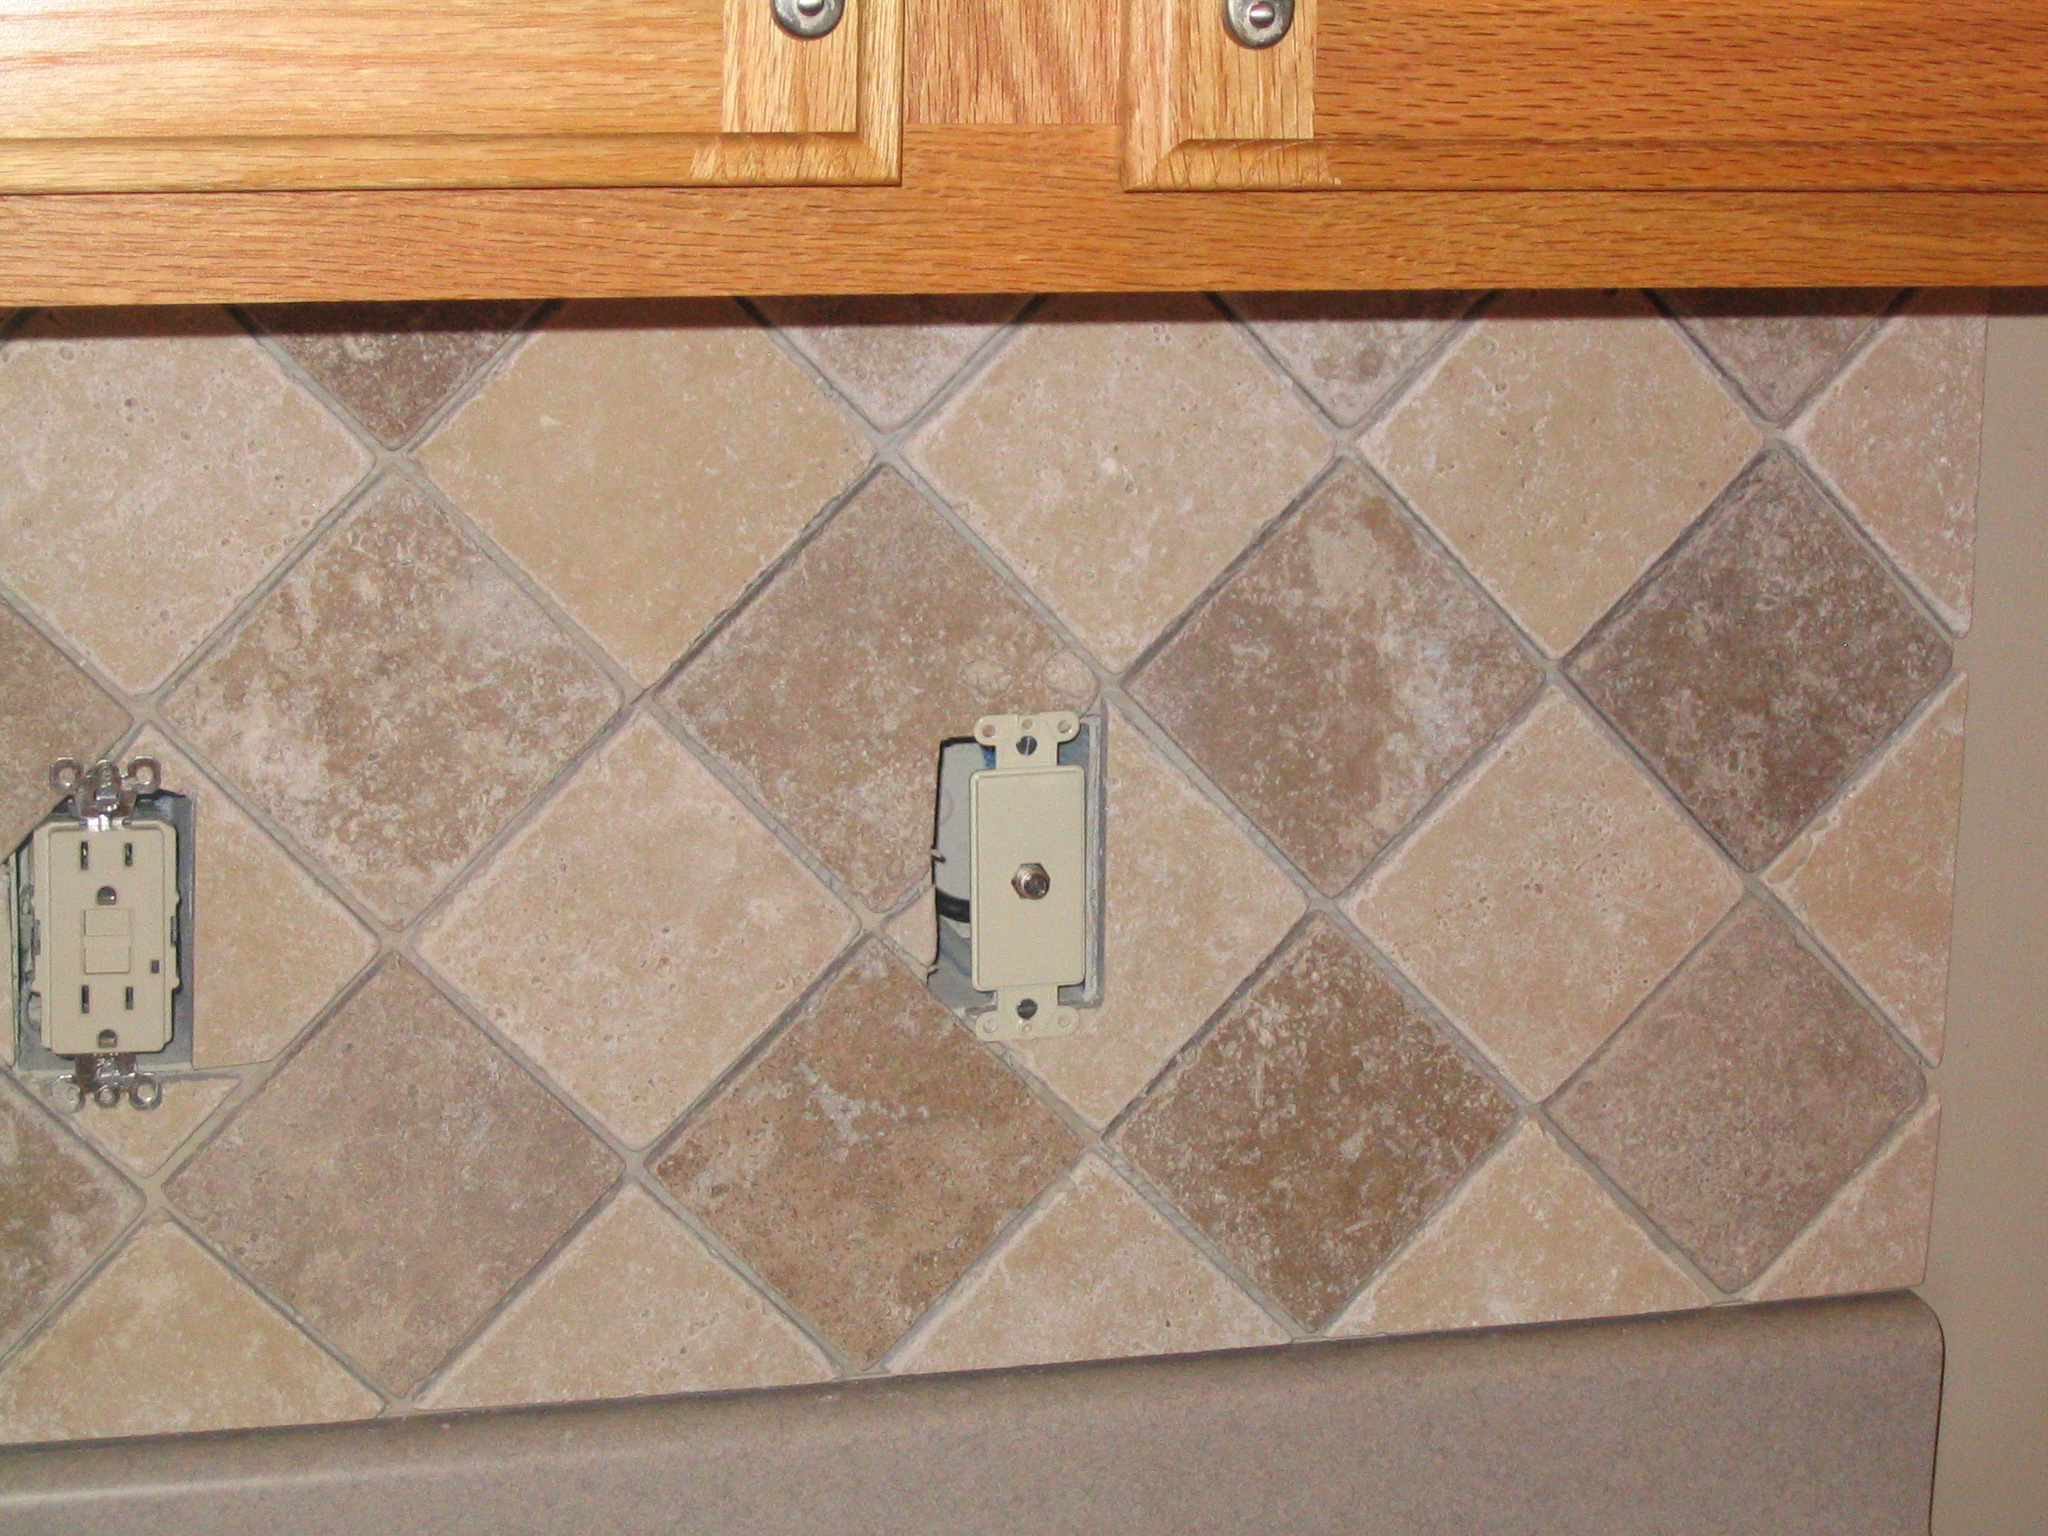
The tile arrived last Monday and there it sat until Sunday when we finally had no plans. I moved the tile-saw onto the island for easy access and got to work. The main tiles went up nice and easy in the diagonal pattern. We got nice and lucky that our cabinets and our countertop lined up on a half tile exactly so that made the top and bottom cuts nice and easy. The hardest parts were the outlet and switches.
By late Sunday afternoon the tile was set in place, and we left for dinner to allow the mortar to set-up. That evening I adjusted the outlets and switches and placed spacers were needed. Monday we put on a color enhancer. The last step is to grout which will probably occur this weekend. Below are some pictures for your viewing pleasure. Enjoy!
 |
 |
 |
Comments
2 responses to “Creating a tile backsplash in 2 easy steps”
I guess I know who to call when it comes time to tile our house 🙂 Looks great!
Do you still need me to babysit on Saturday or are you finished with projects?